The installation method of carbon brushes involves several key steps to ensure that the carbon brushes are properly installed and in good working order. Here are the detailed installation steps:
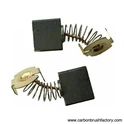
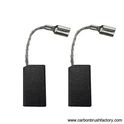
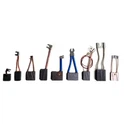
Prepare tools and materials: Make sure you have the appropriate tools such as screwdrivers, brush grips, springs, insulation, etc., as well as new carbon brushes. Check whether the size and model of the carbon brush match the requirements of the equipment, and check whether the brush grip is intact
Power-off operation: Before installing carbon brushes, always ensure that the device is powered off or disconnected from power to avoid electric shock or other safety risks
Remove the old carbon brushes: Remove the original carbon brushes of the device, taking care not to damage the brush grip and insulation. Use a small screwdriver to gently pick up the buckle at the carbon brush to avoid deformation caused by excessive force
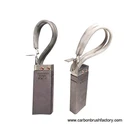
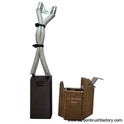
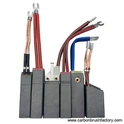
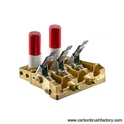
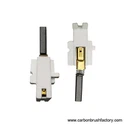
Install the new carbon brush: Put the new carbon brush into the brush grip to ensure that the carbon brush and the brush grip are well matched and there is no loosening. Install the spring and make sure the spring has enough pressure to ensure that the carbon brush is in good contact with the slip ring
Installing Insulation: Ensure that the installed insulation is in the correct position and without damage to provide the necessary electrical isolation.
Connect the power supply and test: Reconnect the power supply, start the device, and observe whether the carbon brush is running normally, without abnormal noise and heat generation. This step is to make sure that the installation is correct, and to check the performance of the carbon brushes.